Student Center Self Service:Student Data Verification
Hobart and William Smith Colleges is required by law to have on file up-to-date information for each of our students. You will not be able to register for classes or view your course schedule in PeopleSoft until you have entered or updated this information.
When you click on Tasks or the shopping cart in PeopleSoft, you will get a notification to verify your data:
You will need to update or verify the information in each section. Most are self-explanatory. When you finish all the steps, submit the task.
To complete your data verification task:
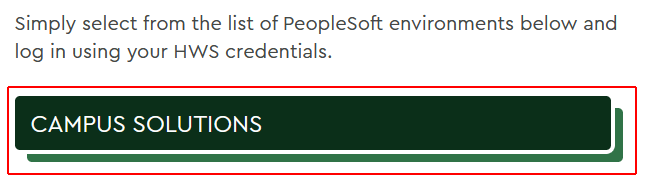
- Go to the PeopleSoft Portal at http://hwsportal.hws.edu
-
On the portal page, click Campus Solutions
-
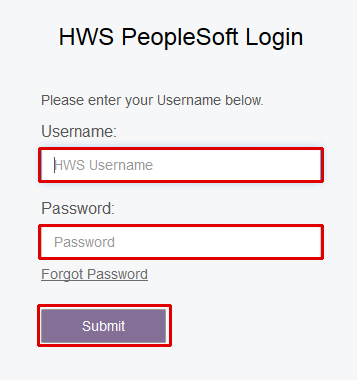
Using your HWS network credentials, log in to Campus Solutions
-
On the Student Center, click the Tasks tile
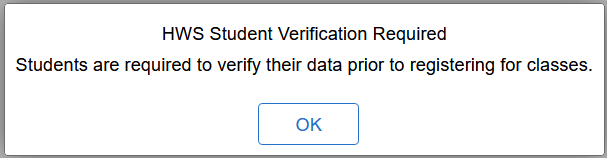
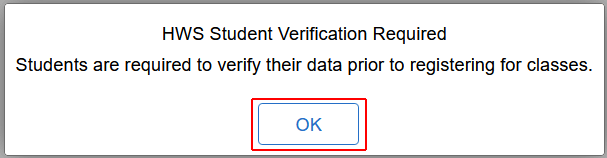
The HWS Student Verification Required pop-up will appear.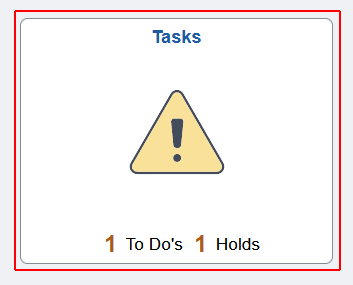
- On the HWS Student Verification Required pop-up, click OK
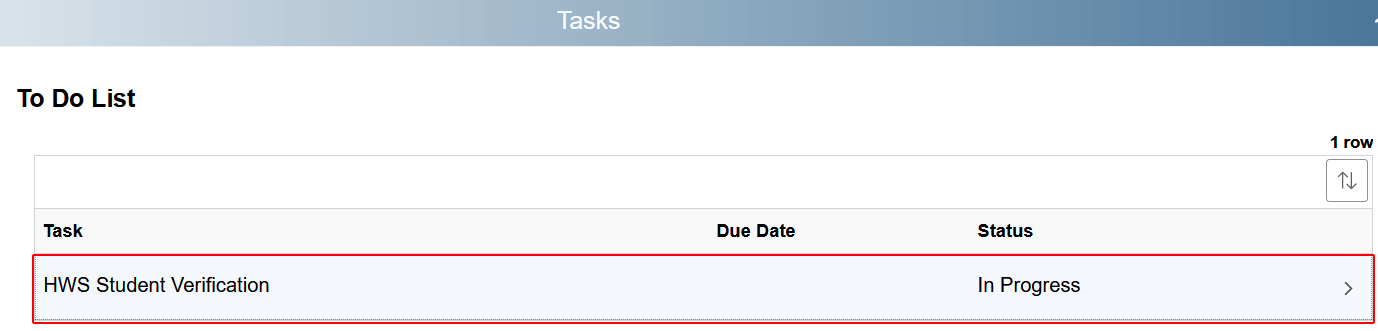
- On the Tasks page, under To Do List, click on the task HWS Student Verification
-
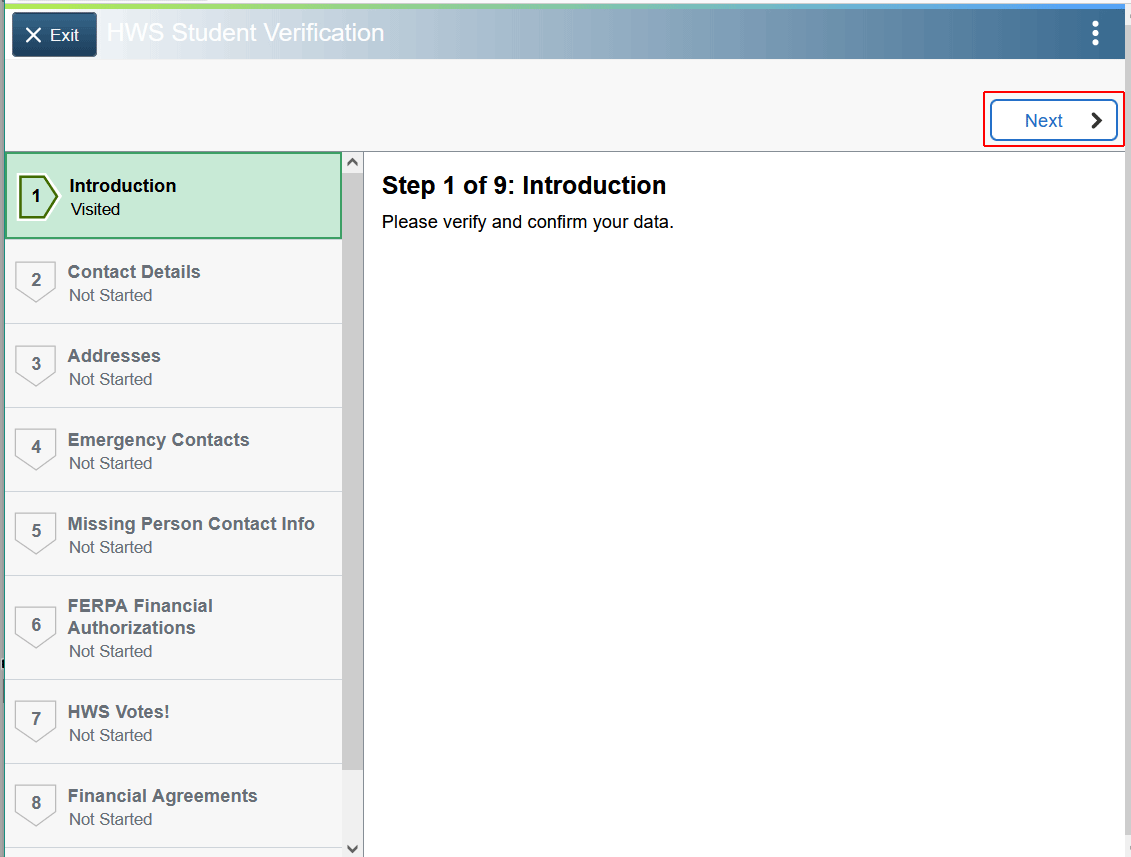
The list of verifications will be shown on the left; to proceed, click Next
-
Verify or correct the information on the page:
-
To change an item in one of the fields, click on it to open the editor; make the change and, at the upper right, click Save
-
If the information is already correct, at the upper right, click Confirm
Some tasks may ask you to accept or decline, rather than confirm.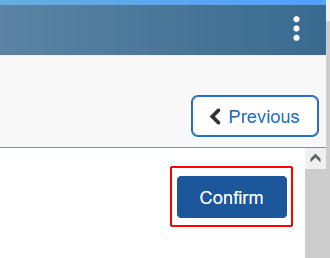
-
-
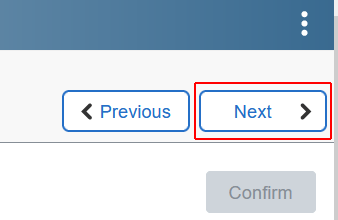
To proceed to the next step, click Next
-
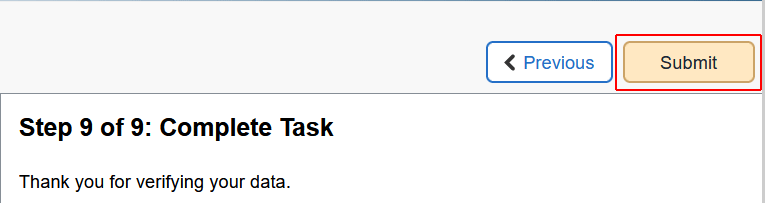
Complete each step and move to the next one
-
When all steps are complete, on the Complete Task step, click Submit